IG Fresh Haul Week 9
San Dimas Haul
I don’t know about you but that early week heat was what we have been missing this summer. It was nice to finally get some of the warm weather.
The work continues at the garden maybe not so much to do with planting and pulling weeds but work regardless. Right now I am setting myself up for success moving forward.
*Half Haul *Compost PileComposting is Cool!
I know, I know, no one what’s to hear it but that wind has changed. There is a bit more of a chill in the air and the seasons will soon be changing. To be honest I noticed it right around the end of July but I didn’t want to be a Debbie Downer about it and bring it up too soon. We shouldn’t let this discourage us though. There are so many good things to celebrate about Mid August. We still have longer days, the nights are cooler (I am thankful for a lower power bill). We still have plenty of warm weather left in the forecast and this is when the garden is in full production mode.
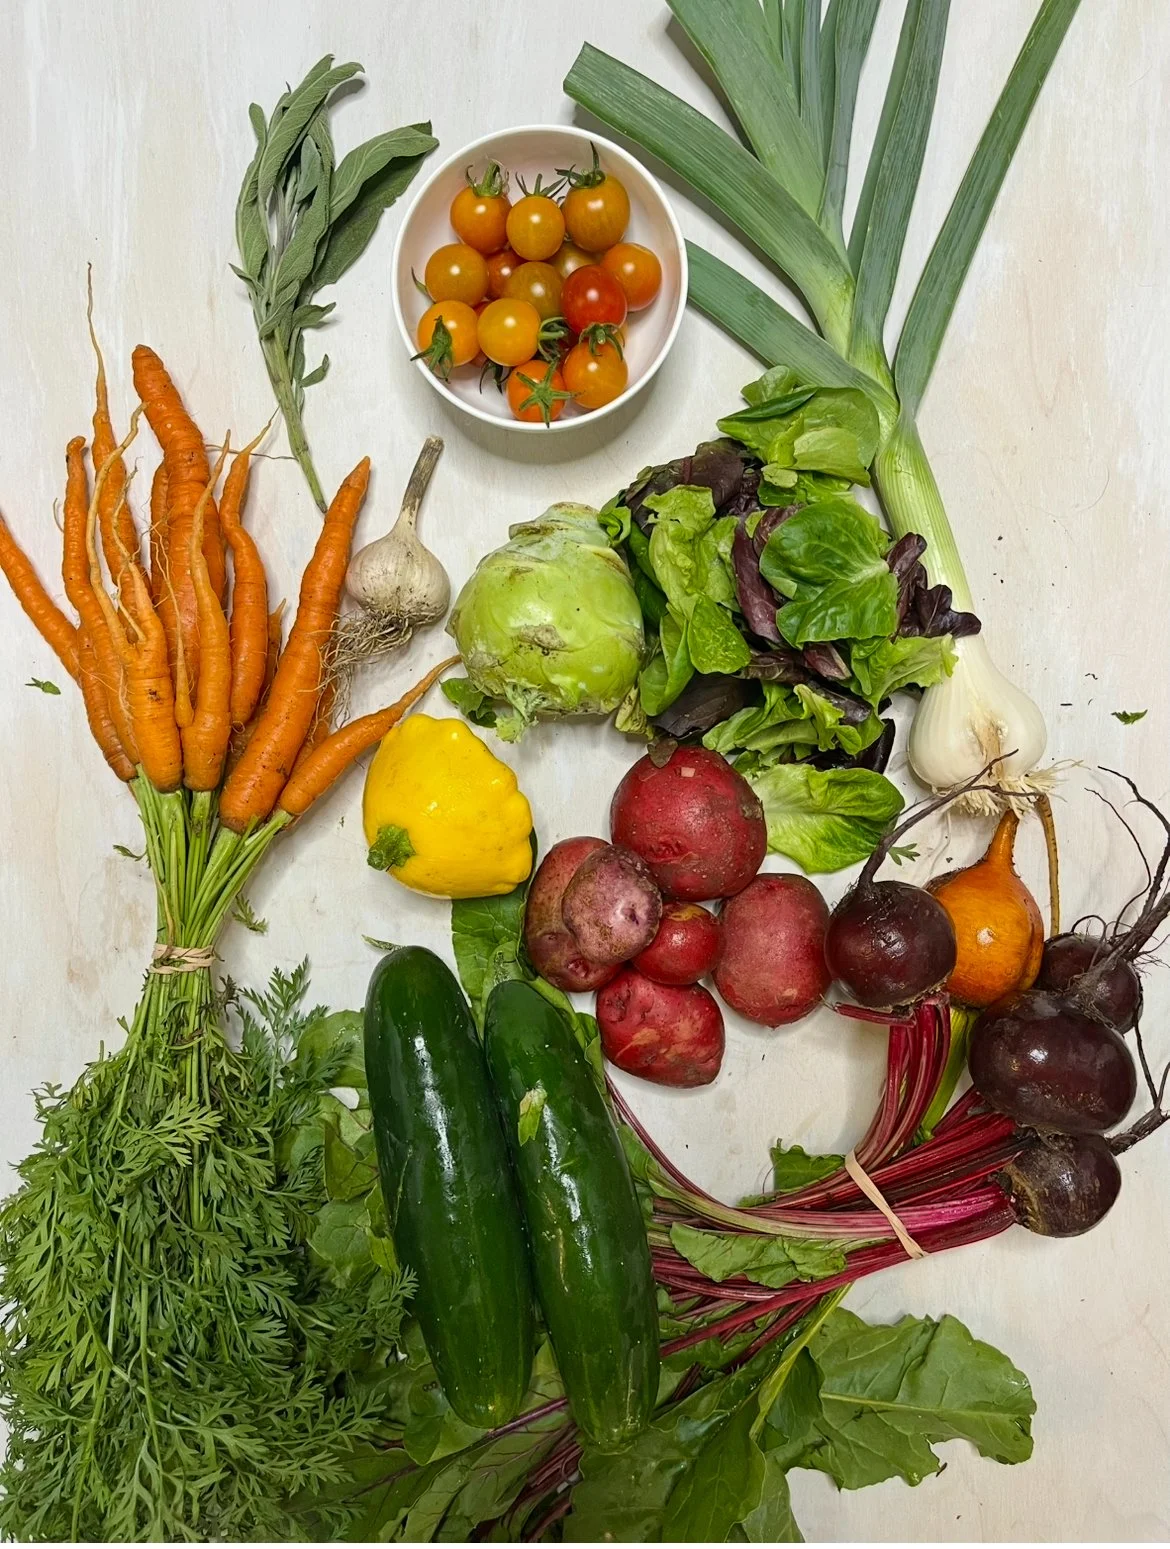
This weeks hauls are looking good. I mean just look at the pictures. There is an absolute amount of abundance and variety right now. I am so happy to be able to share it with you. This is the kind of vegetable hauls that I think about when I think CSA shares. With the addition of peppers, purple cabbage, golden beets this week. Things are looking good! I promise I will try and not overwhelm you with too many vegetables all at once.
So the garden is in high gear and the work load shifts slightly. Gone are the days of planting and weeding… ok I am still weeding Haha. Most of the garden is in and functioning so it’s just harvesting that’s really left to do. But now I am also pulling plants that are done, out of beds. It’s kink of sad nothing is going in to replace them.
As plants come out of the garden like peas, beans, cabbage leaves, old lettuce. I am moving into compost mode. I have to say building compost is almost as much fun for me as harvesting. This is me investing and building healthier soil for the future. I am incredibly lucky I rent from someone that has a working farm so that means there is a lot of animal bedding that has all the good stuff in it to build amazing soil. Typically I will layer animal bedding (straw mixed with manure) then old spent plants like the peas and beans, a bit of finished compost to inoculate it and cold wood ash from a fire. I will then soak it heavily with water. and repeat this process over and over until I have an absolutely massive pile. Then I will cover it with a tarp and let it sit for about a week. Once a week is up I will uncover it and turn the pile.
This means that I will dig into the pile put down a layer maybe add some more garden waste soak it with water again and continue to layer it until it is completely flipped. Once again cover it and let it sit. The goal of flipping the compost pile is to get it HOT so it kills the vast majority of parasites and harmful bacteria. When I say hot I mean 160 degrees Fahrenheit or 71 degrees celsius. Hot enough that in the mornings you can see the steam rising off of it. So pretty damn hot!
What’s In The Haul
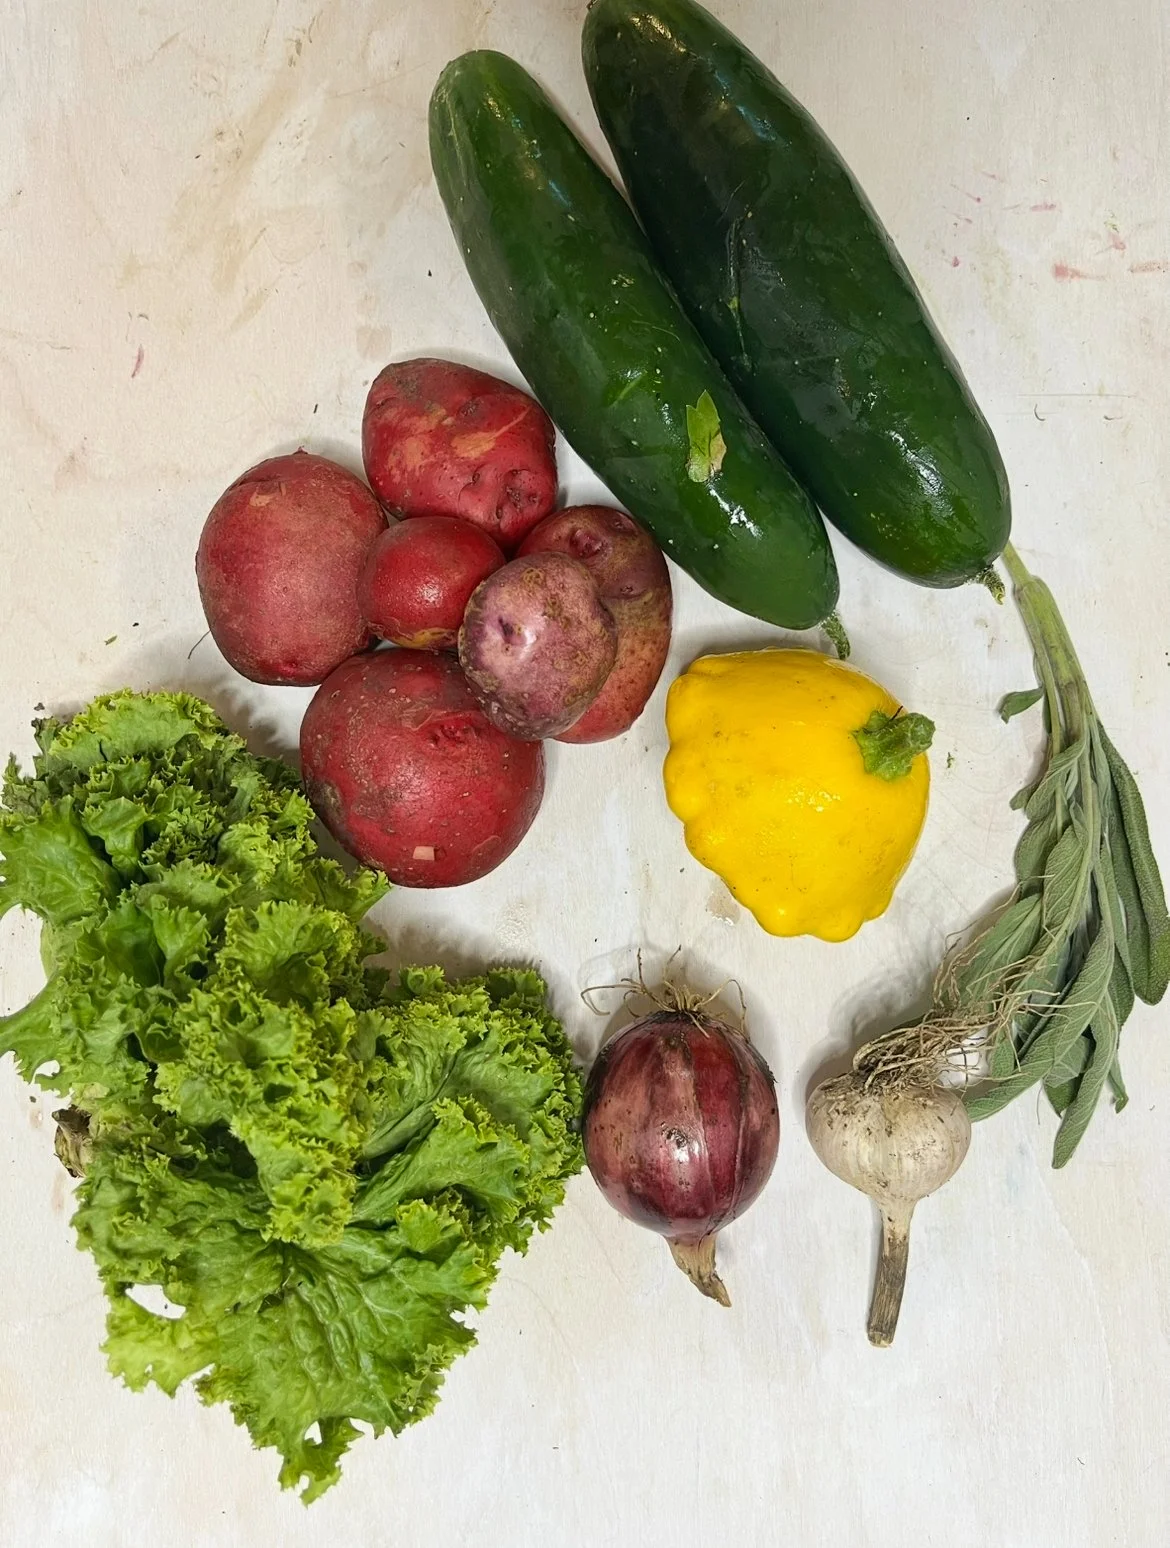
HALF
Cucumber
Belgium Endive
Zucchini
Garlic
Potatoes
Red Onion
Sage
FULL
Butter Lettuce
Cherry Tomatoes
Cucumber
Beets
Zucchini
Carrots
Potatoes
Leeks
Kohlrabi
Oregano
Week 9 Recipes

Leeks
Grilled Leek and Zucchini Flatbread
Leeks Storage Tips:
Leeks can be easily wrapped in a bag and stored in the crisper. They will stay fresh for up to 10 days like this.
To freeze, cut the leeks up into one inch pieces and blanch in boiling water for 1 minute.
Shock the leeks in cold water and freeze on a baking sheet lined with parchment paper for 2 hours. Take out of the freezer and place in a zip lock freezer bag and put back into the freezer. Leeks will last like this for up to 10 months.
Grilled Leek and Zucchini Flatbread
Nan bread or flat bread
1 Zucchini
1 leek
1/2 cup kalamata olives
1 clove of garlic
4 tbsp olive oil
Salt and Pepper
1/2 cup feta or cheese of choice
1 tsp orageno
Pre heat the BBQ. Clean the dirt from 1 leek and cut into 1/4’s. Cut the zucchini into ribbons. Toss the zucchini and leeks in 2 tbsp of the olive oil and grill until chard. Heat the flat bread on the grill until just toasted. Cut the clove of garlic in half and rub the flatbread with the cut side of the garlic. (This will release lots of garlic flavour without the intense kick of chunks of fresh garlic). Drizzle the flatbread with olive oil or alternatively use kale pesto as the base. Remove the chard zucchini and leeks from the grill, gently place the zucchini on the flatbread. Roughly chop the leeks and sprinkle over top. Garnish with Kalamata olives, feta cheese, and fresh oregano.
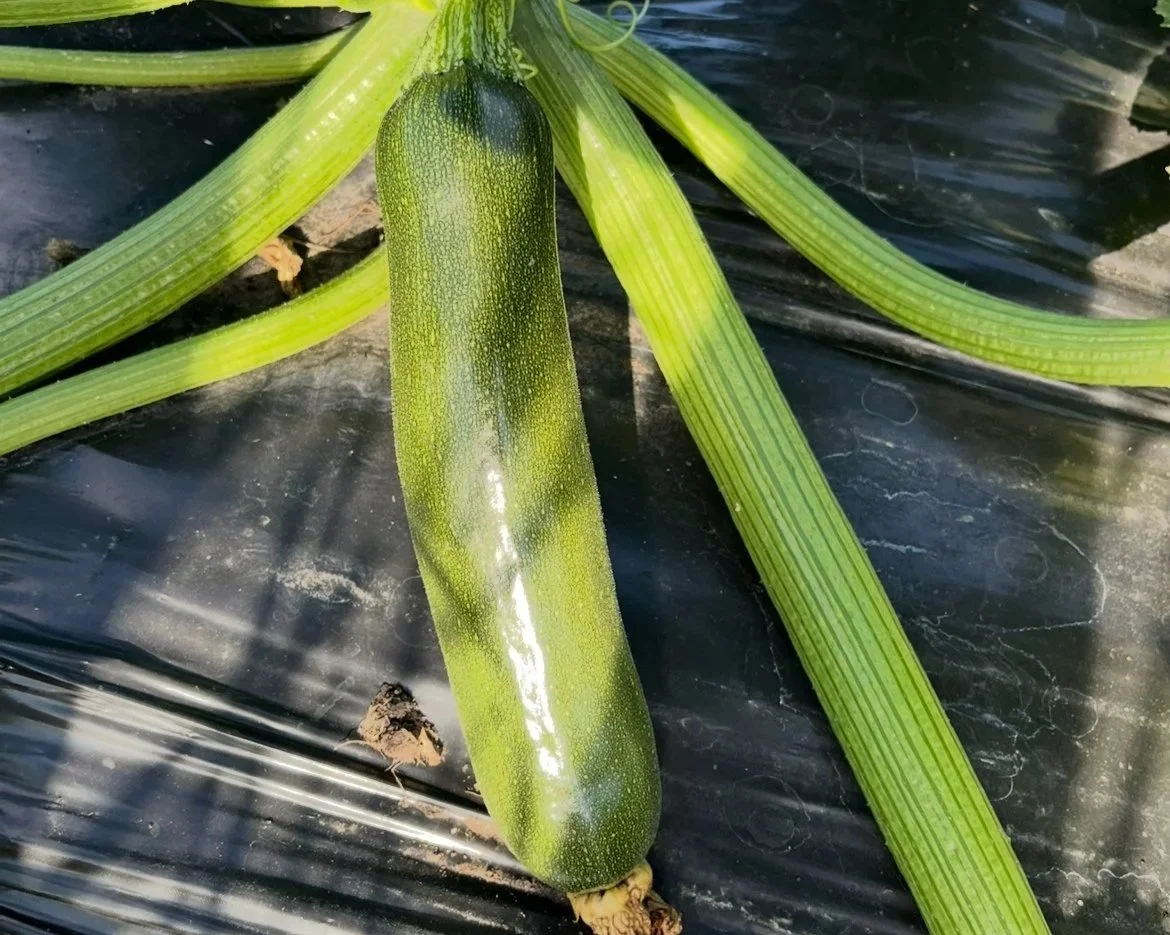
Zucchini
Zucchini Pancakes
Zucchini Relish
Zucchini and Grilled Bread Gratin
Zucchini Storage Tips:
Store zucchini, in a resealable bag in the fridge, with a piece of paper towel inside the bag to wick away any moisture. Zucchini will stay good this way for up to 2 weeks in the fridge.
Zucchini Pancakes
2 1/4 cups flour or gluten free flour
1 cup shredded zucchini
2 tsp baking powder
1/2 tsp baking soda
1/2 tsp salt
1/2 tsp cinnamon
2 tbsp sugar
2 cups milk or dairy free milk
4 tbsp butter or coconut oil
2 large eggs
1 tsp vanilla
In a large bowl combine the flour, baking powder, baking soda, salt, cinnamon and sugar; mix well. Make a well in the centre of the dry ingredients. Add the wet ingredients into the bowl of dry and mix thoroughly. Next add in the shredded zucchini and mix in well.
In a sauté pan over medium heat add butter or oil to the pan and allow to get hot. Cook the pancakes and serve with butter and syrup. I like to add peanut butter to my pancakes.
Zucchini Relish
4 cups shredded zucchini
1 cup chopped onions
1 1/2 tbsp salt
1 1/2 cups white vinegar
1 red pepper, chopped
1 green pepper, chopped
1 tbsp cornstarch
1 1/2 tsp celery seed
3/4 tsp ground nutmeg
3/4 tsp ground turmeric
1/2 tsp pepper
In a bowl add the zucchini, onion and salt. Mix everything together and let sit for 1 hour. After the hour is up rinse the zucchini in water and squeeze out all the moisture. In a medium pot over medium heat, add the rest of the ingredients and bring to a simmer. Add in the zucchini and onion mixture. Bring everything to a boil and then reduce to medium low and simmer everything for 30 minutes.
From here you can pack the relish to can it or you can put in containers and store it in the fridge or freezer.
Zucchini and Grilled Bread Gratin
1-2 zucchini, Sliced
1 Onion, sliced
3 cloves of garlic
3 thick slices of crusty bread or 2 cups premade croutons
2 tbsp olive oil
1 cup of cheddar cheese, shredded
Salt and Pepper
Preheat the oven to 350 degrees.
Slice the zucchini into coins. Slice the onion and garlic and set off to the side. Drizzle 1 tbsp olive oil on the bread and toast or grill. Cut the bread into cubes. In a baking dish toss together the bread, zucchini, onion, garlic, salt, pepper and olive oil. Grate the cheddar cheese over top of the veggies and bread. Bake in the oven for 30 minutes. Enjoy warm.

Belgium Endive
Blue Cheese Dressing
Balsamic Vinaigrette
Green Goddess Dressing
Lettuce Storage Tips:
In a resealable container or bag, line the bottom with a paper towel. Place the lid back on or reseal the bag and store in your fridge for up to 7 days. A container works great because it prevents the lettuce from getting bruised.
Blue Cheese Dressing
1/4 cup mayo
2 tbsp sour cream
2 tbsp vinegar of your choice
1 tsp dijon mustard
1 clove of garlic, crushed
1/4 cup blue cheese, crumbled
Salt and Pepper
In a medium bowl combine all the ingredients together and mix well. Spoon over crisp romaine and garden veggies.
Balsamic Vinaigrette
3 Tbsp extra virgin olive oil
1 Tbsp balsamic vinegar
1 tsp dijon mustard
1 clove of crushed garlic
Salt and Pepper to taste
In a medium bowl combine all the ingredients together and mix well.
Green Goddess Dressing
1/4 cup extra virgin olive oil or oil of your choice
2 tbsp lemon juice or vinegar of your choice
1/4 cup yogurt
1/2 avocado
1 clove of garlic
Herbs of your choice (dill, cilantro, parsley, oregano, chives, sweet marjoram)
Salt and Pepper to taste
1 tbsp water
In a blender or food processor combine all the ingredients together. Add 1 tbsp of water to the dressing if it is looking too thick and blend together again. Use right away or store in a container for up to 1 week.

Beets
Roasted Beet Salad
Beet and Rye Bread Salad
Crusty Bread with Cream Cheese and Roasted Beets
Beets Storage Tips
In a resealable container or bag, line the bottom with a paper towel. Place the lid back on or reseal the bag and store in your fridge for up to 7 days. A container works great because it prevents the lettuce from getting bruised.
Roasted Beet Salad
Beets, cooked with skin removed
1/4 cup toasted walnuts or nuts and seeds of your choice
1 cup micro-greens of your choice
Goat cheese
Dressing
/4 cup olive oil
2 tbsp balsamic vinegar
1 tbsp honey
1 tsp dijon mustard
Thyme
Roast the beets in the oven for an hour at 350 degrees. Once cooked, let the beets cool for a minute and then peel. In a sauté pan over high heat toast the nuts until they are brown and toasted. In a bowl whisk together all the ingredients for the dressing. Next add in the diced cooked beets, toasted nuts, cheese and micro greens. Add salt and pepper and toss everything together.
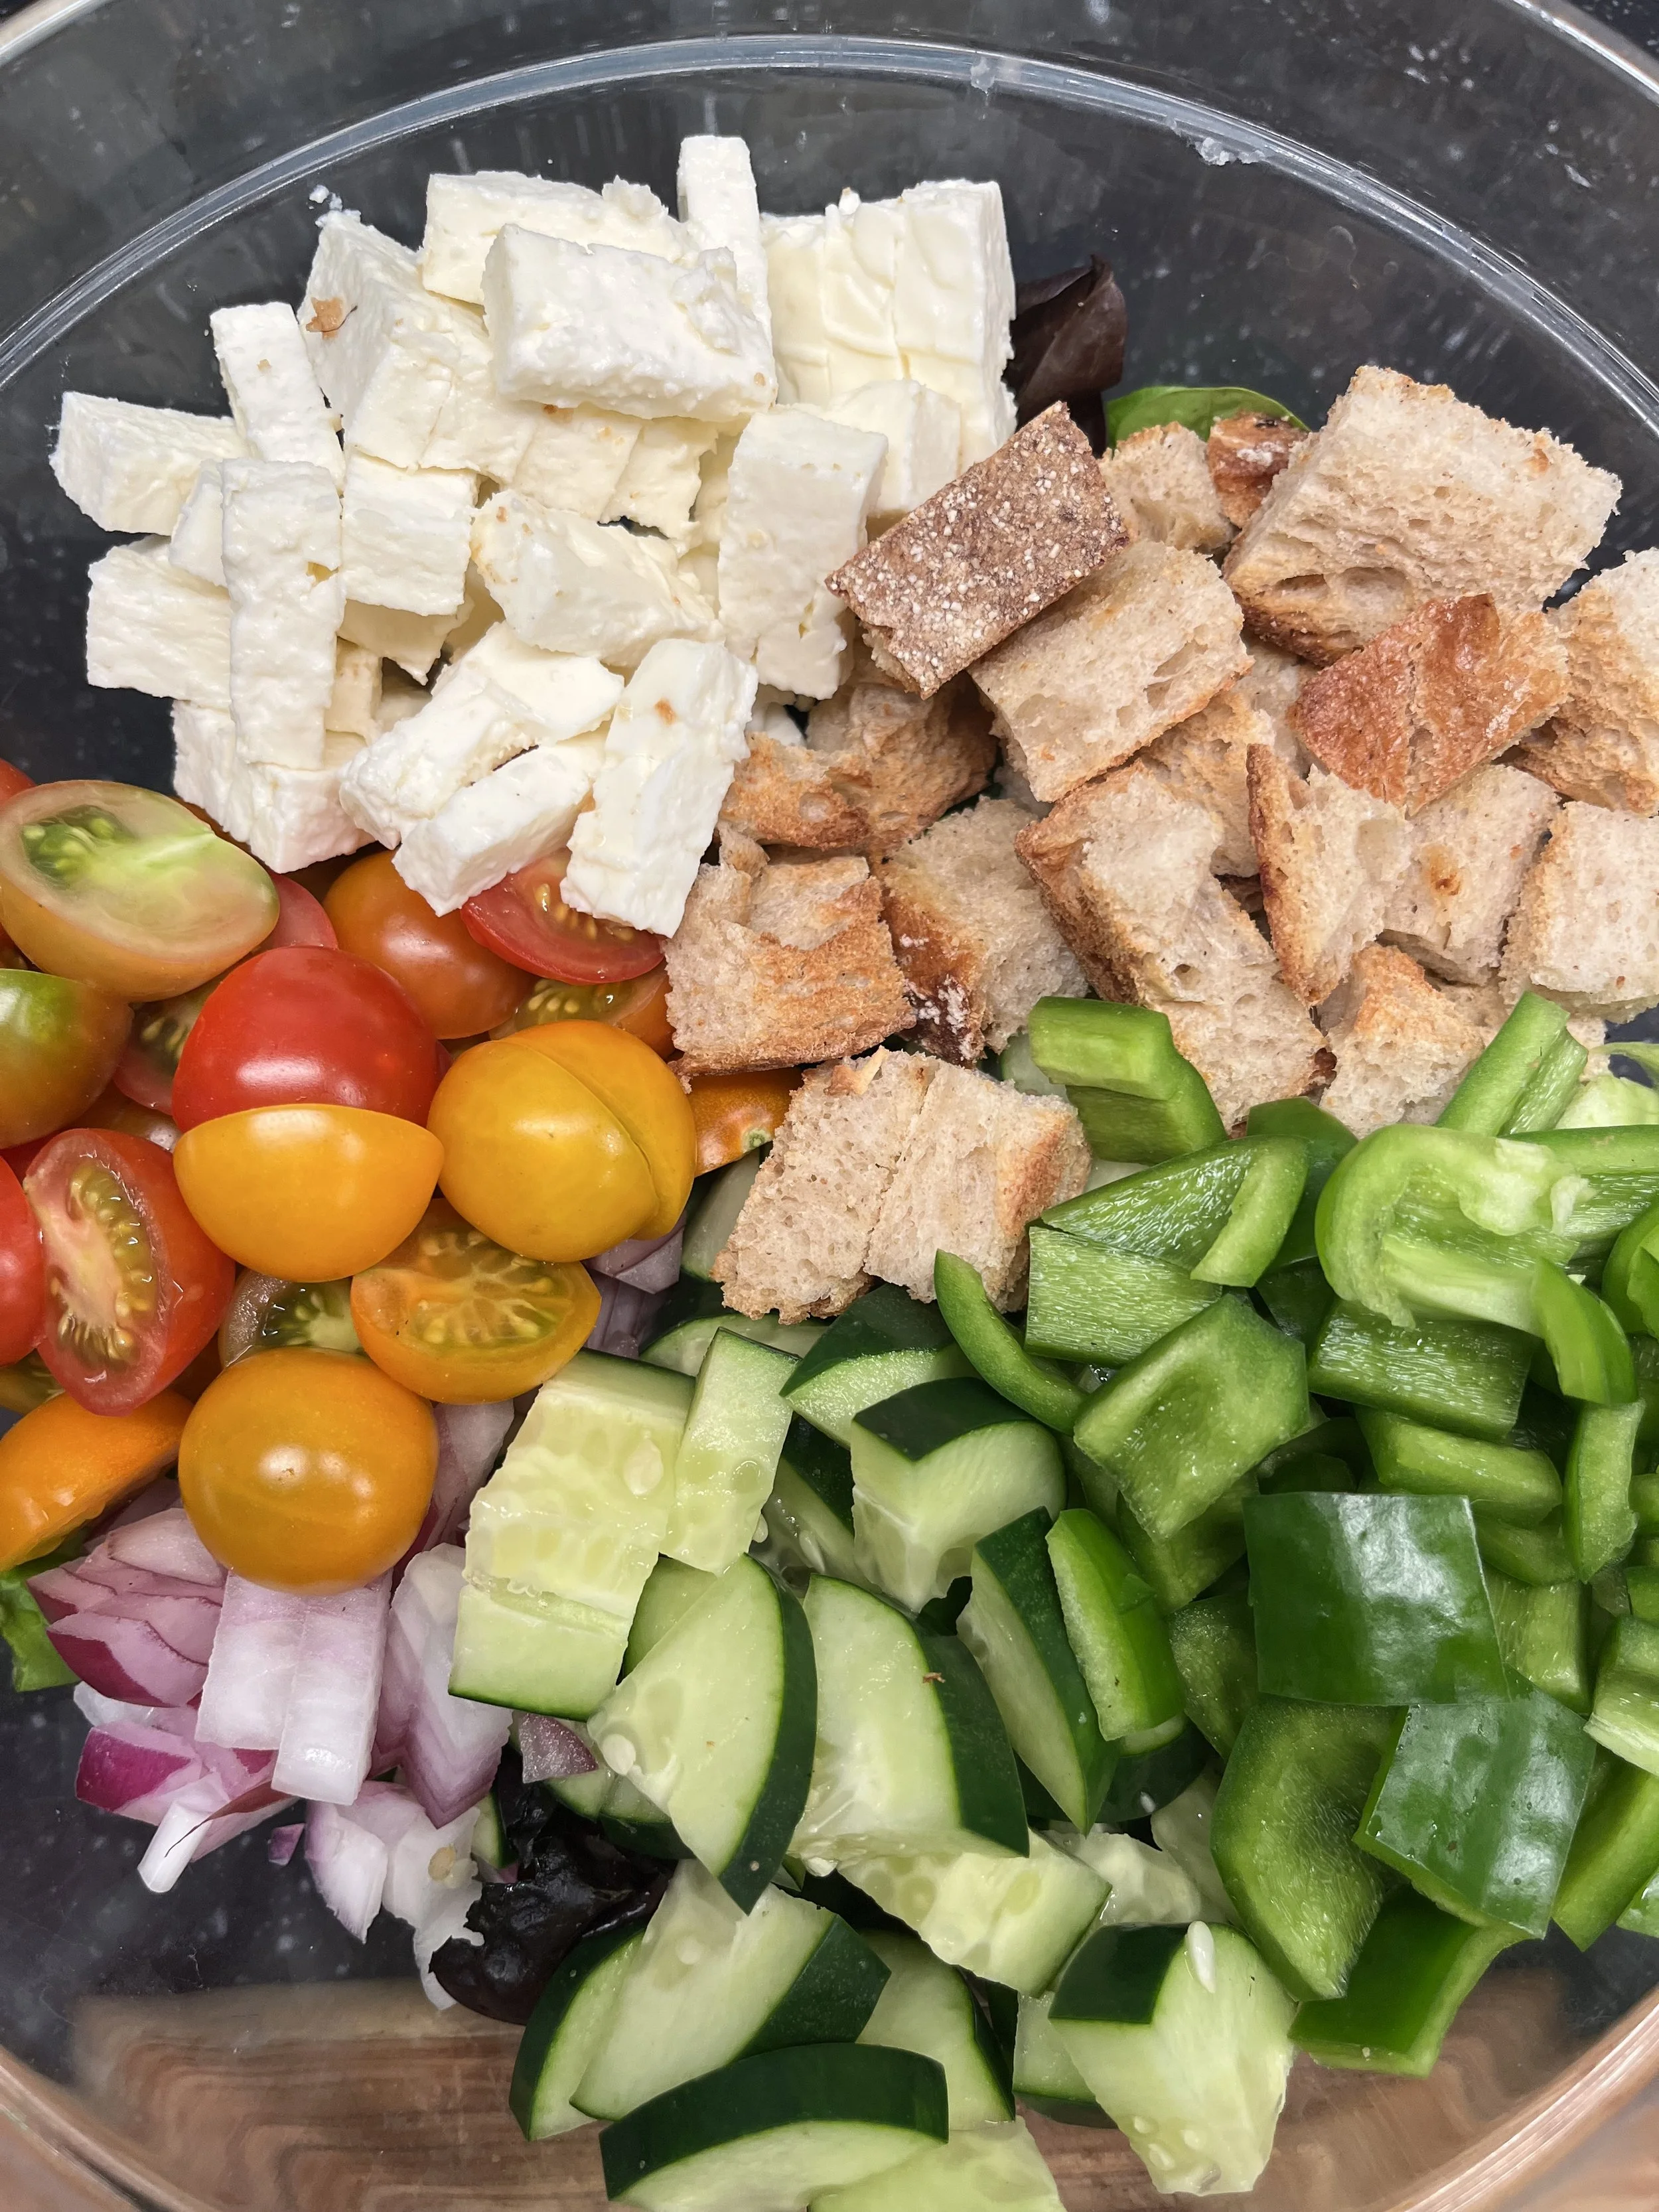
Beet and Rye Bread Salad with Feta
1 Bundle of beets
3 thick slices of rye or pumpernickel bread
1 onion, diced
2 cloves of garlic
4 tbsp olive oil
2 tbsp vinegar
1/2 cup feta cheese
Salt and Pepper
With some tin foil wrap and roast the beets in the oven for 45 minutes. Grill the bread on the BBQ and set off to the side.
Once the beets are cooked let them cool slightly and carefully peel. Chop into rough chunks and put into a bowl. Roughly chop the grilled bread into bight size pieces and add to the bowl with the beets. Add in the chopped onion, garlic, olive oil, vinegar, salt and pepper. Toss everything together and garnish with feta cheese.
Crusty Bread with Cream Cheese and Roasted Beets
1 lbs of cook and peeled beets
1 cup cream cheese
1 tbsp honey
1 tsp fresh thyme
The juice and zest from half of a lemon
loaf of crusty bread
1 tbsp Extra Virgin Olive Oil
Cut a couple slices of crusty bread and grill it on the BBQ or toast. Cut the beets into chunks or slices. In a bowl add in the cream cheese, thyme, honey, zest and lemon juice; mixing well. Now to assemble. Take the toast and spread on a generous amount of the cheese mixture. Layer on top as much or as little beets you desire and drizzle with olive oil. Enjoy!

Cherry Tomatoes
Roasted Tomato Aioli
Tomato Storage Tips:
Store your tomatoes, upside down (stem side down) on a tray left out on the counter. Ripened tomatoes will store like this for up to 6 days. If they last that long.
Freezing tomatoes has never been simpler, start by coring the tomato. Next place the tomatoes on a baking sheet lined with parchment paper. Freeze for 5 hours. Once frozen solid, remove the tomato from the freezer and put into freezer bags. Put back into the freezer, the tomatoes will last like this for up to a year.
Roasted Tomato Aioli
1 cup cheery tomatoes
1 egg
1 clove of garlic
1 cup canola oil (or any nutrial tasting oil)
1 tsp dijon mustard
Basil
Salt and Pepper
Roast tomatoes and a bulb of garlic in the oven at 350 F for 1 hour. In a jar combine the oil and egg and blend until combined. Add in the cooked tomato, roasted garlic, dijon mustard, basil, salt and pepper. Blend until the aioli becomes smooth. Enjoy as a salad dressing or a spread for sandwiches.
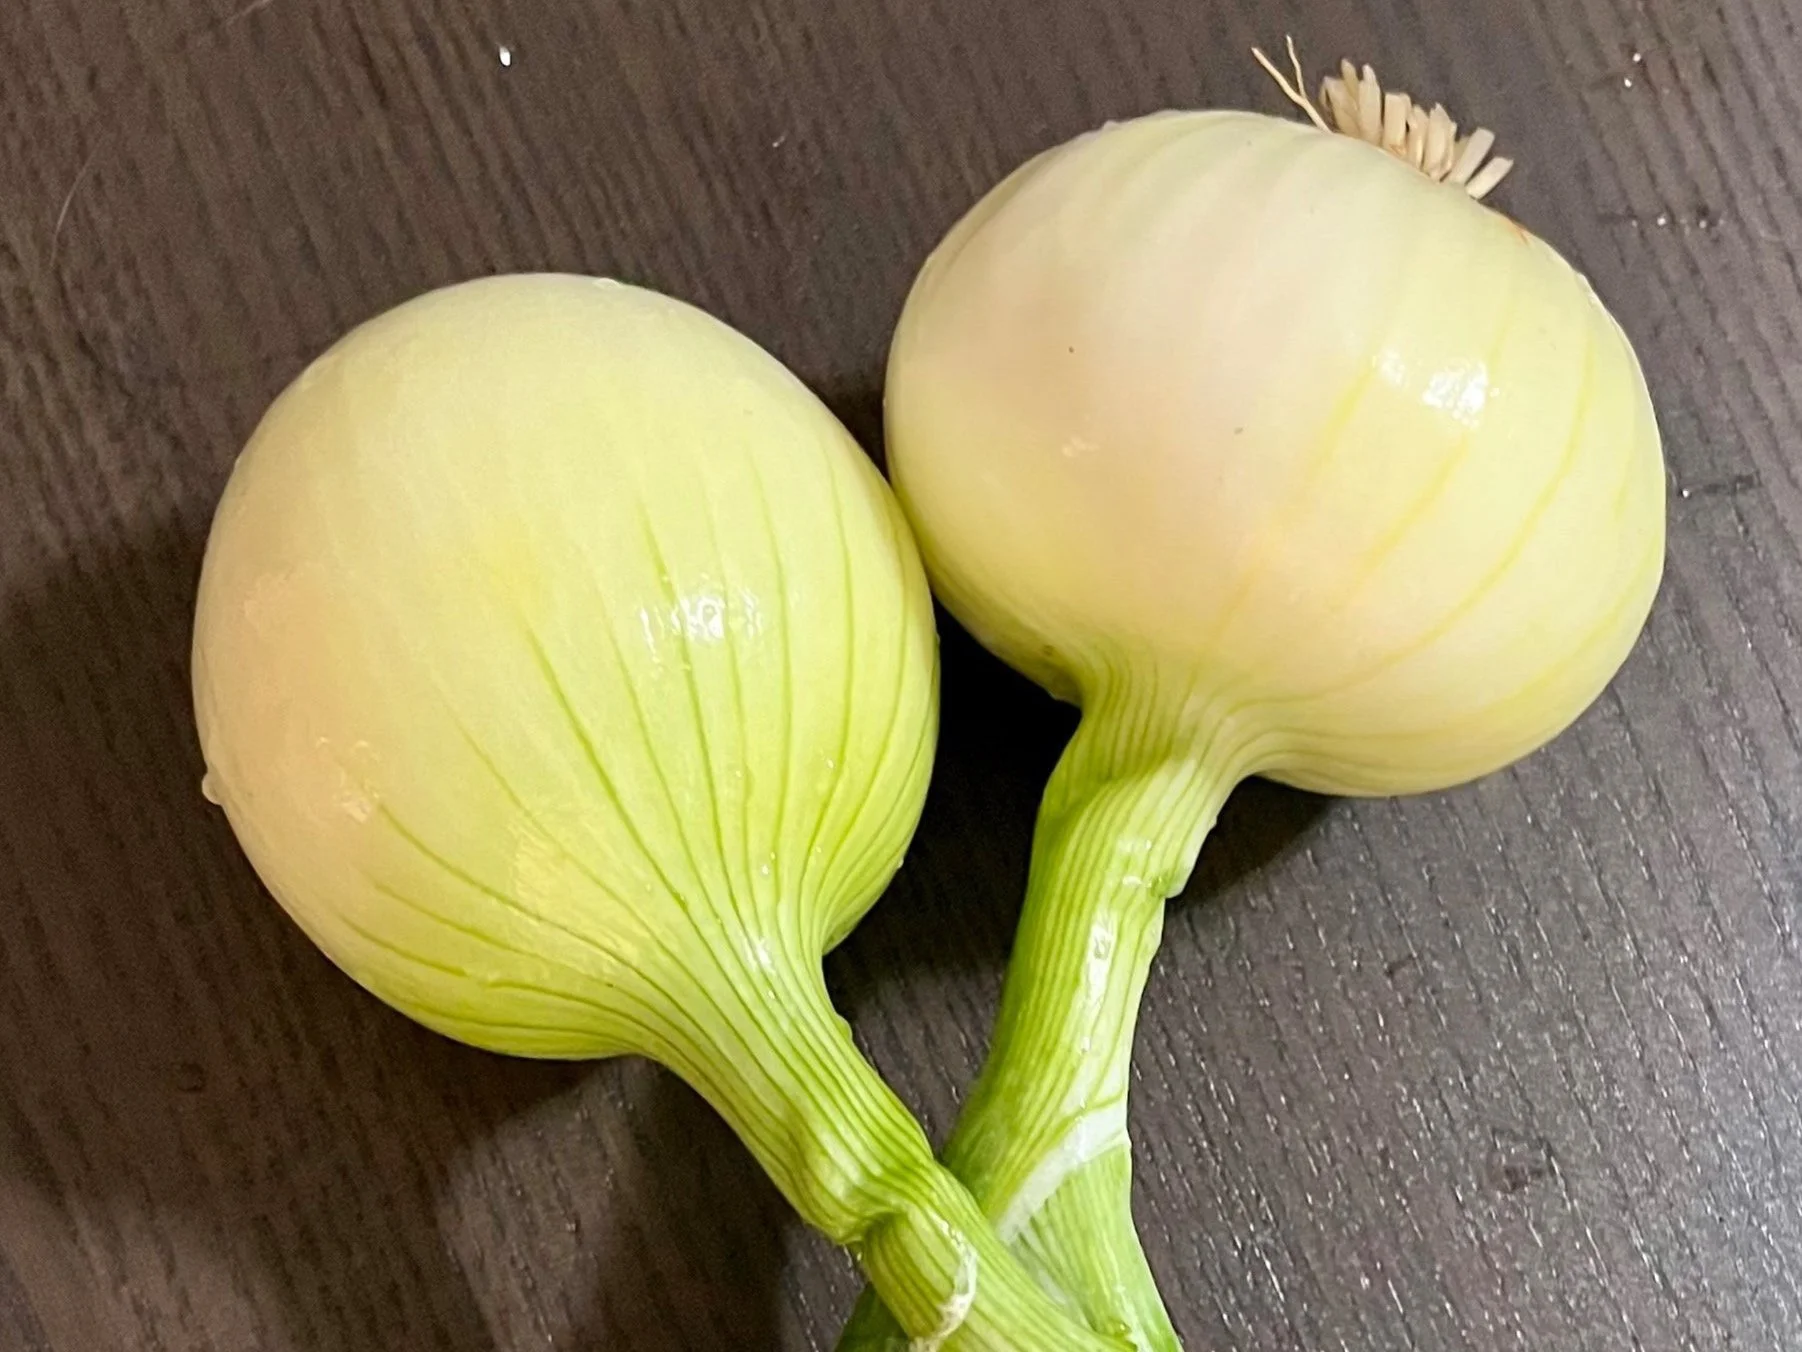
Onions
Charred Onion Dip
Onion Storage Tips:
Whole onions can be stored in a cool, dry, dark and well ventilated place. This would be a basement, cellar, or garage. Already peeled and cut onions can be stored in the fridge in a air tight container to prevent the onion odour corrupting other foods. They will store in the fridge for 7-10 days.
Green onions can be stored in the fridge in a zip lock bag with a paper towel for up to a week.
Charred Onion Dip
3 small onions, cut into rings
1 tsp olive oil
1 cup cream cheese, softened
1/4 cup sour cream
1 clove of garlic
1 tsp garlic powder
1 tsp onion powder
1/2 tsp smoked paprika
Salt and Pepper
Preheat the BBQ on high. Slice the onions into rings and toss in oil, salt and pepper. Grill on the BBQ until each side is charred. Place charred onions, garlic, cream cheese and sour cream into a food processor and blend. Add in the spices and blend again. Serve with crusty bread, crackers or veggie sticks.

Carrots
Carrot Mustard Slaw
Roasted Carrot Hummus
Carrot Salad with Whipped Feta
Carrots Storage Tips:
When you get your carrots, cut the tops off. The carrot tops will literally suck the life out of the carrot. Place the carrots into a zip lock bag with a dry piece of paper towel. The paper towel will soak up any extra moisture the carrot gives off. The Carrots will stay crisp in the fridge up to 7 days.
Freezing carrots, cut into uniform pieces and blanch in boiling water for 3 minutes. This will slightly cook the carrot, but not completely through. With a slotted spoon remove the carrots, or strain with a colander. Dump out the carrots on a baking tray lined with parchment paper. Put into the freezer for 2 hours. Remove the tray and put the frozen carrots into a zip lock bag, and store it in the freezer.
Carrot Mustard Slaw
1 Bundle of Carrots, shredded
1 onion, sliced
1 cup of micro greens
2 tbsp olive oil
1 tbsp lemon juice
1 tbsp grainy dijon mustard
1 tsp honey
Salt and Pepper
Remove the tops from the carrots, with a box grater, shred the carrots. Thinly slice the onion. In a bowl mix together the carrot, onion, and micro greens of your choice.
In a separate bowl, mix together the olive oil, lemon juice, dijon, honey, salt and pepper.
Add the dressing to the vegetables and mix together. Let it marinate together for 1 hour in the fridge.
Carrot Hummus with Carrot Top Pesto
Hummus
4 medium carrots
1 bulb of garlic
1/4 cup + 1 tsp olive oil
1 can of chick peas
Juice from 1 lemon
1 tbsp tahini
Salt and Pepper
Pesto
1/2 cup carrot tops
3 tbsp olive oil
1/4 cup toasted nuts
1 tbsp lemon juice
1 clove of garlic
Salt and Pepper
Preheat the oven to 350 degrees. Toss the carrots in 1 tbsp olive oil and so salt and pepper. Cut the top off of the garlic bulb drizzle with olive oil and wrap in tin foil. Roast the carrots and garlic in the oven for 45 minutes.
In a food processor add the cooked carrots, roasted garlic, olive oil, chick peas, lemon juice, tahini, salt and pepper. Blend until smooth.
To make the pesto add the carrot tops, oil, toasted nuts, lemon juice, garlic, salt and pepper to a blended and blend until combined.
Serve by spreading the hummus out on a plate creating ridges and dimples and pour the pesto over top and serve with chopped veggies and crackers.
Carrot Salad with Whipped Feta
10-12 medium carrots, cut in half length wise
1 tsp olive oil
3 tbsp sour cream
1/4 cup brie
1 tsp honey
1 tsp thyme
1/4 cup olive oil
1 tbsp Chilli flakes
Salt and Pepper
Place the oven wrack at the highest level and pre heat the broiler on your oven to high.
Cut the carrots in half, length wise. Toss in olive oil, salt and pepper, spread out evenly on a sheet tray. Put under the broiler and let the carrots cook for 12-15 minutes. You want the carrots to char. While the carrots cook place the brie, sour cream, honey and thyme in a food processor and blend until smooth. Next, make the chilli oil, in a small pot over medium hight heat add in the olive oil and start to warm. Once the olive oil starts to warm and become fragrant add in the chilli flakes and remove from the heat.
Now to assemble, remove the charred carrots from the oven. Take your brie cheese mixture and spread it out evenly on a plate, next place the charred carrots on top and finish with a tbsp of the warm chilli oil. Serve with crusty bread. Enjoy.

Potatoes
Potato Pancakes
Gnocchi
Potato Storage Tips:
Store potatoes in a cool, dry, dark and well ventilated place. Typically in a cardboard box in the pantry or garage. Do not store them in the fridge. The humidity in the fridge will make them sprout over time and the cold air will make the potato convert its starch to sugar. Making the potato sweet.
Potato Pancakes
5-6 medium potatoes, shredded
1 onion, sliced
1 tsp salt
4 sprigs of thyme, stem removed
1 large egg
2 cloves of garlic, crushed
1/4 cup flour or gluten free flour
Shred the potatoes and add the salt and mix thoroughly, let sit for 10 minutes. Drain off the liquid in the bowl. Squeeze the potatoes removing any extra water from the potatoes. In a bowl combine all the ingredients to the potatoes and mix until everything is incorporated. In a frying pan over medium high heat add 4 tbsp of cooking oil or fat of your choice. Wait till the oil is hot. Form the potato pancakes into little patties and place into the pan to fry for 3 minutes each side. Serve with sour cream and chopped chives.
Gnocchi
1 cup potatoes, boiled and mashed
2 cups flour
1 egg
Boil and mash the potatoes. In a large bowl add the mashed potatoes, flour and egg, mix together until the dough forms a ball. Divide the dough into 1/4’s and form into a little ball. Take each small ball of dough and roll out into long snakes. On a floured surface cut the snakes into half inch pieces.
In a large pot of lightly salted water cook the gnocchi for 3-5 minutes. Drain and serve with sauce of your choice.

Kohlrabi
Kohlrabi and Pear Salad
German Style Kohlrabi
Kohlrabi Storage Tips:
Kohlrabi, can be stored in your fridge as is, and can stay fresh for 3 weeks.
Freezing kohlrabi, peel the thick skin from the vegetable. Cut into 1 inch cubes and blanch the kohlrabi in the boiling water for 2 minutes. Remove from the water and transfer to an ice water bath to stop the cooking. Put the cooled kohlrabi into a freezer bag and freeze. It will last in the freezer for 6 months.
Kohlrabi and Pear Salad
1 large kohlrabi, peeled and sliced
2 ripe pears, sliced
1/4 cup walnuts
1 bundle of green onions sliced
1 bundle of parsley
1 leaves of mint
3 tbsp olive oil
Juice from half of a lemon or 1 tbsp of vinegar
Salt and Pepper
Peal and slice the kohlrabi and place in bowl. Then add the thinly sliced pear, walnuts, green onion, roughly chopped parsley and mint, oil, vinegar, salt and pepper. Toss the salad together and let sit in the fridge for a couple hour for the salad to come together and develop flavour.
German Style Kohlrabi
1 Kohlrabi
1 tsp Salt
1 tbsp butter
1/2 tsp AP flour or Gluten free flour
3/4 cup of milk
Pinch of nutmeg
In a pot of boiling water add the peeled and slice kohlrabi. Let it cook for 6-8 minutes just until fork tender (poke it with a fork). Drain and set off to the side.
Using the same pot over medium heat add in the butter and let melt. Once the butter is melted, stir in the flour and let it cook for a minute. Once the butter and flour are cooked add in the milk and mix well to prevent any clumps from forming. This sauce should thicken up in about 5 minutes. Add the salt and nutmeg to the sauce, and dump in the cooked Kohlrabi. Mix together and enjoy.
Optional add German Style kohlrabi to a baking dish, sprinkle with 1/2 cup sharp cheddar cheese and bake in the oven for 10 minutes.
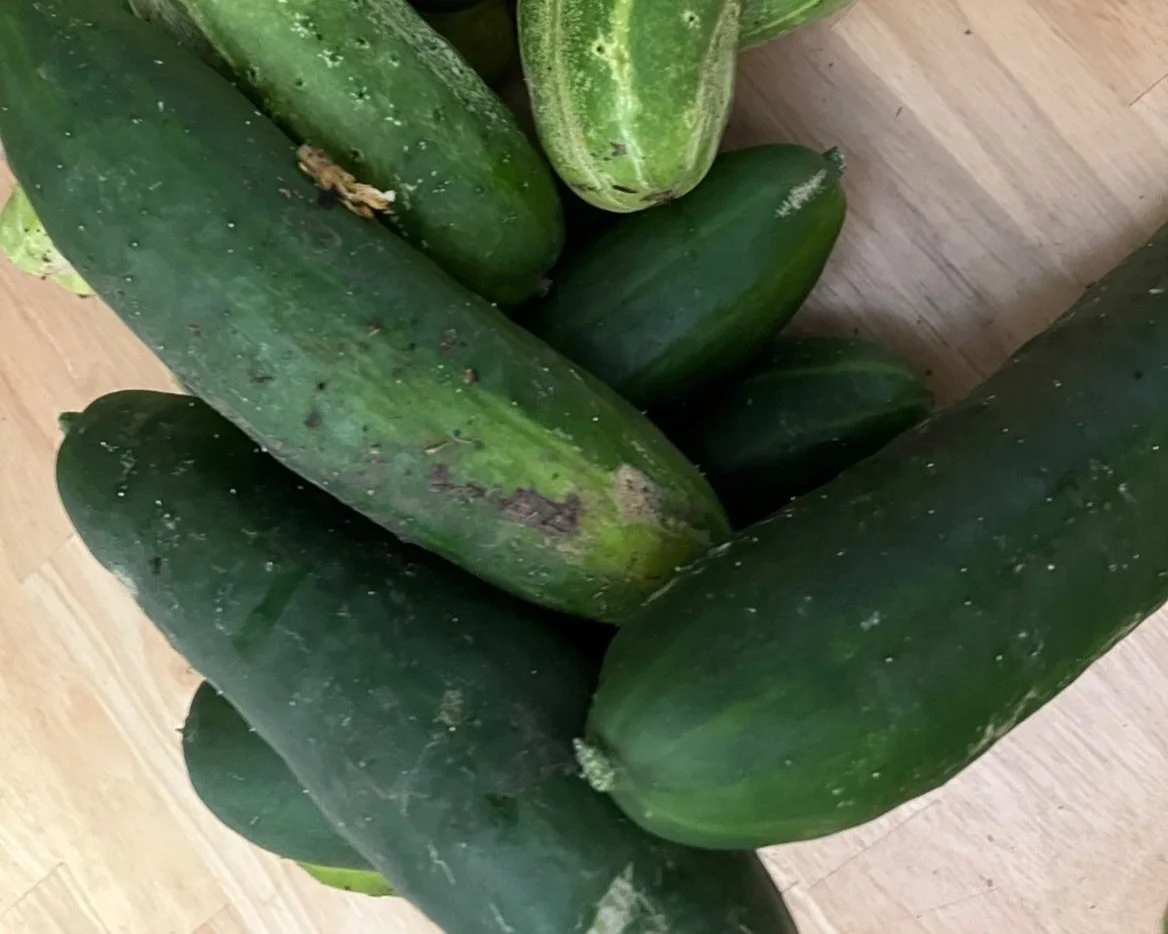
Cucumbers
Creamy Cucumber Salad
Cucumber & Grape Salad
Korean Cucumber Salad
Herb Cucumber and Whipped Feta Salad
Cucumber Storage Tips:
Storing cucumbers is easy as wrapping them in dry paper towel and placing them in an open plastic bag. Make sure the bag is left open to allow air flow. Cucumbers will store in the fridge like this for a 10 days.
The alternative method is to just store the cucumbers on the counter. They will delicious and crisp like this for 7 days.
CREAMY CUCUMBER SALAD
1 cucumber
1 bundle of green onions
1 tbsp white vinegar
3 tbsp mayo
Salt and Pepper
Cut cucumbers into coins. Roughly chop the green onions. In a bowl combine cucumbers, green onions, vinegar, mayo, salt and pepper.
Cucumber and Grape Salad
1 cup lettuce or micro greens
1 cucumber, sliced
1 cup of grapes, cut in half
1/4 cup red onion, sliced
1/4 cup toasted almonds
1/4 cup feta
Dressing
1/4 cup greek yogurt
2 tbsp olive oil
1 tbsp vinegar
1/4 cup mix of basil and cilantro, roughly chopped
1 clove of garlic, crushed
Salt and Pepper
Combine your lettuce, cucumber, grapes, onion, almonds and feta. In a separate bowl mix together the yogurt, oil, vinegar, herbs and garlic. Add salt and pepper to taste and mix the dressing together. Mix the dressing into the veggies and enjoy!
Korean Cucumber Salad
1 Cucumber
1 tbsp soya sauce
2 tbsp rice wine vinegar
1 tbsp sugar
1/2 tsp chilli flakes
1/4 tsp sesame seeds
2 green onions
Slice the cucumbers. In a bowl mix the together the soya sauce, rice wine vinegar and sugar. Pour the sauce over the cucumbers and mix well. Add in the green onions and chilli powdered. Mix everything together and serve.
Herb Cucumber and Whipped Feta Salad
1 large or 2 medium cucumbers
1 bundle of green onions
1 cup of feta cheese
1/2 cup sour cream
1 lemon
2 tbsp olive oil
Fresh chopped dill
Fresh chopped parsley
Pistachios, toasted
In a food processor add the feta and sour cream, and blend until nearly smooth. Pour out onto a serving tray.
Cut the cucumber into quarter length wise and then roughly chop into 1 inch sized cubes. Lay the cucumbers and chopped green onion on top of the whipped feta.
Garnish the salad with freshly chopped dill, parsley and toasted pistachios. Finish with a drizzle of olive oil, the fresh squeezed lemon, salt and pepper.

Garlic
Roasted Garlic Cheese Toast
Garlic Storage Tips:
Store garlic in a cardboard box or paper bag in a cool dark area. The paper bag or box still creates air flow and ventilation allowing the garlic to breath. Avoid storing the garlic in a plastic bag. This will create moisture build up and make the garlic spoil faster.
Roasted Garlic Cheese Toast
1 garlic bulb
1 tbsp Olive oil
1 loaf of French bread or crusty bread of your choice
1/2 cup butter
1 cup of cheddar and mozzarella blend (or any cheese you like)
1/4 chopped parsley
Salt and Pepper
Cut the top off the garlic exposing the cloves inside. Put the garlic in a piece of aluminum foil, drizzle 1 tbsp olive oil over to and salt and pepper the top. Wrap the garlic bulb in the foil and roast in the oven for 1 hour at 350 degrees. Once cooled you can squeeze the garlic from the cloves.
Add the roasted cloves to the room temp butter, add in the parsley and salt and pepper and mix well. Add a thick layer of the butter to the cut half of bread. Add cheese to the top and bake at 350 degrees for 10-15 minutes.

Sage or Oregano
Herb Storage Tips:
Break up herbs into to categories, tender herbs and Harty herbs.
Tender herbs are as follows basil, cilantro, mint, dill, and tarragon. These herbs spoil quickly and should be used 5 days after getting. The best way to store them is in a mason jar or glass of water with the stock sitting in the water. Much like fresh cut flowers.
Harty herbs such as thyme, rosemary, sweet marjoram and sage are much more forgiving. Tie the bundle of herbs into a boutique and store in the fridge for 7-10 days.